
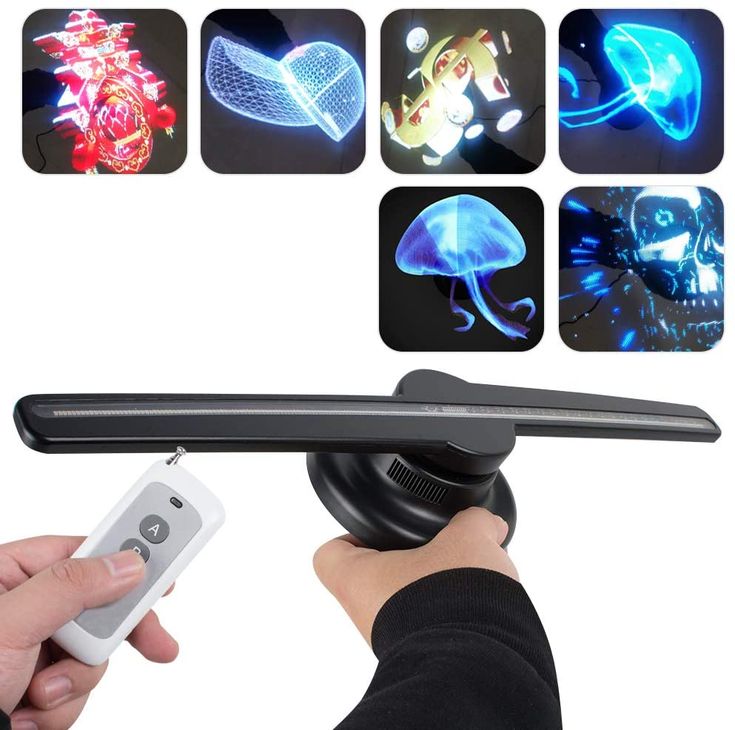


You’ve just received your LED hologram (often called a holographic fan or a 3D propeller display) and you want it running fast, cleanly, and with zero hassle? Good news: in most cases, the setup can be completed in 10 to 15 minutes—as long as you follow a simple order of operations and respect a few safety rules.
In this guide, we’ll walk through the quickest method to mount the unit (wall/ceiling), power it, upload your 3D content (logo, product, promo), and then check alignment and visibility. Goal: a “wow” effect from the very first power-on.
Before you start: the checklist (2 minutes)
A fast installation doesn’t mean “rushed and sloppy”. It means “fast and done right”: the right support, the right tools, and zero improvisation when it comes to mounting.
Field benchmark
On a standard setup (1 unit, wall bracket, power outlet nearby), mounting + publishing content usually takes around 12 minutes when you prepare the location and video file in advance.
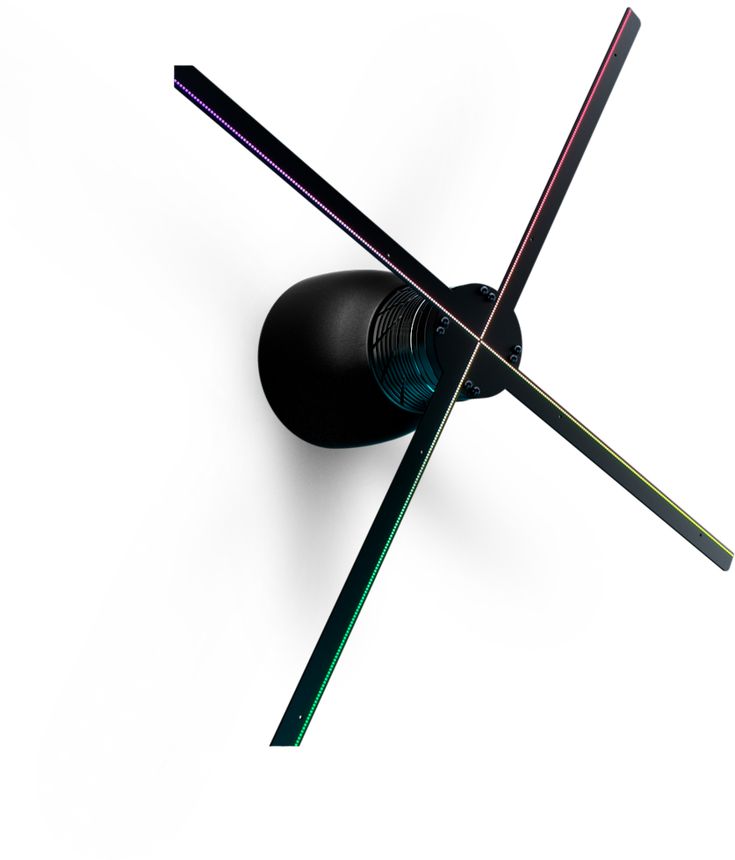
Step 1 — Choose the location for maximum visibility
The best location is the one that ensures: a clear line of sight, an appropriate height (often between 2.2 m and 3 m depending on the diameter), and controlled ambient light (or a black backing panel if needed).
- Viewing distance: plan for 2 to 6 m for optimal impact, depending on size and resolution.
- Safety: avoid areas where people can touch the device (very close entrance, queue pressed against it, narrow corridor).
- Background: a dark backdrop dramatically increases contrast and perceived image “cleanliness”.
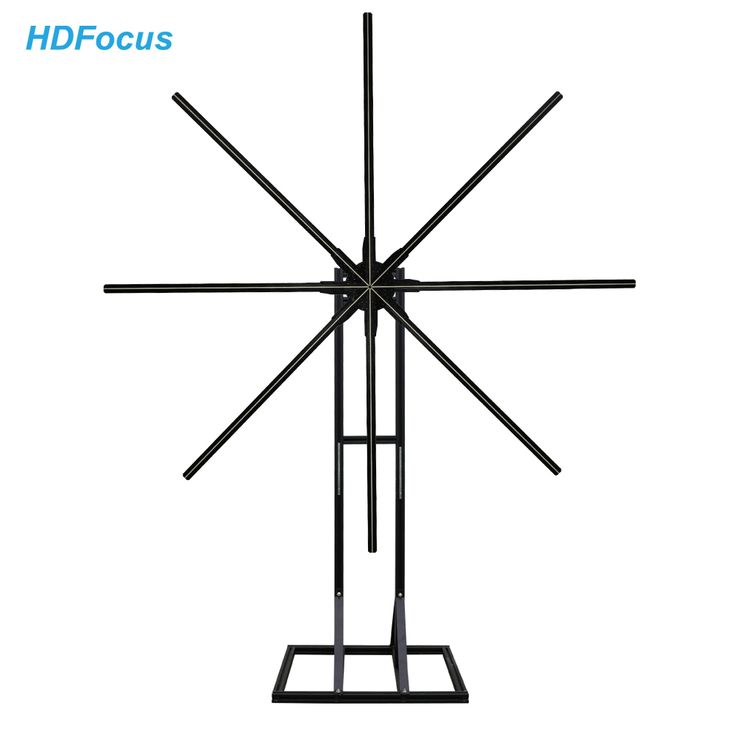
Step 2 — Quick mounting: wall, ceiling, or tripod
The golden rule: a solid support and fasteners suited to the material (concrete, brick, drywall, metal structure). A holographic fan spins at high speed—stability is non-negotiable.
The simplest method (wall)
- Marking: position the bracket/support and mark the holes.
- Drilling + anchors: use the correct bit size (as specified by the bracket) and verify holding strength.
- Screwing: tighten firmly without overtightening (avoid cracking the surface).
- Hanging: attach the device, then check that there is no play at all.
Step 3 — Power and “clean” cabling (1 minute)
Plug the power supply into a stable outlet, ideally on a protected line. The “fast installation” trick: plan a discreet cable run (cable trunking or cable ties) for a premium look—especially in a shop window or showroom.
Step 4 — Upload your content in a few minutes
Most modern models accept content via a mobile app (Wi‑Fi) or memory card/USB. To move fast: prepare your file before you mount the unit.
Format and best practices
- Black background: essential for a crisp “hologram” (black becomes transparent).
- Short duration: 10 to 20 seconds on loop = more impact at the point of sale.
- Centered visuals: keep your subject centered to avoid cropping at the edges.
- Quick tests: upload 1 piece of content, verify, then add your playlist.
“The difference between an ‘okay’ hologram and a ‘wow’ hologram is rarely the device: it’s the location, the black background, and a well-prepared file.” — Field installation feedback (2026)
Step 5 — Alignment, synchronization, and window mode
Once content is playing, take 60 seconds to check: centering, angle (if you have an adjustable bracket), and readability from the main walking/traffic axis. If you’re using multiple units, enable synchronization (when available) to create one large, coherent visual.
Common issues (and quick fixes)
- Blurry image: vibration → re-tighten the mount / use a more rigid support.
- “Gray” rendering: background isn’t black → export with a black background, or add a backing panel.
- Edge cropping: content too large → reduce scale / re-center.
- Wi‑Fi drops: distance/interference → move closer, configure locally, or use a memory card.
Conclusion
A fast hologram installation is absolutely realistic: by preparing the location and content, you can achieve a floating 3D display in under 15 minutes. The secret: a safe mount, clean cabling, and media optimized for a black background.
If you want to move even faster on future deployments (pop‑up stores, booths, window displays), standardize your kit: bracket, drilling template, cable trunking, and a ready-to-use content library.